Garden watering systems are an important part of being a green gardener.

It might seem odd that garden watering systems play such a big role in going green, but consider the impact of wasting water on the local and larger environmental community. One of the benefits of home gardening is free food, food that is not only healthier for you, but cheaper than comparable food at the grocery store.
Using a garden watering system helps you to further reduce the cost of growing your own food, and it helps the environment, too.
Here are the basics you need to know about installing DIY garden watering systems.
First, don’t be intimidated by the number of parts and pieces. There is a very logical and organized method to the madness.
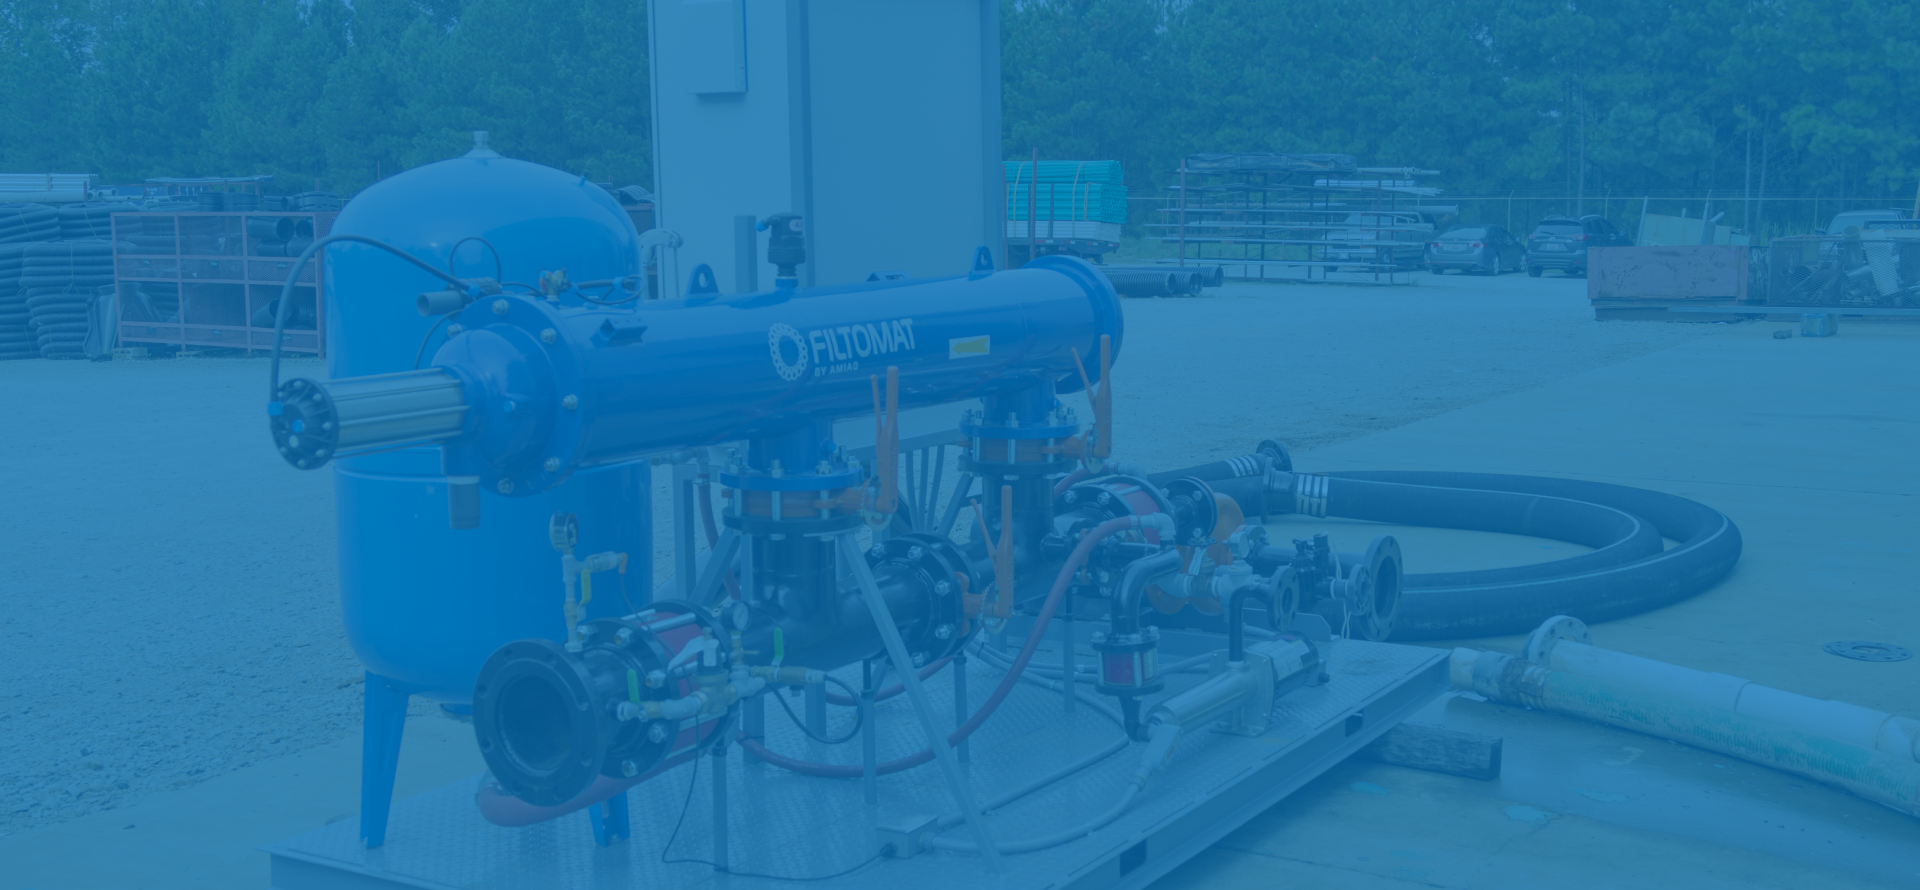
Second, understand what those pieces do, and realize that if you break one, it’s not the end of the world. It simply means a trip to your local W. P. Law, Inc. store (with broken part in hand) and buying a replacement. Most pieces cost less than $2.
Understanding the pieces:
The main line is usually thick and it is laid out first. It also connects to your water tap. There is a piercing tool, which is used to pierce the main line. Into the hole that you pierced into the main line are connectors, usually T shaped though not always. Then there is the emitter line, which is often very tiny in diameter and rolled up into a long roll. Then there are the emitters. There may also be a timer which goes between the water tap and the main line.
How it all goes together:
In many kits, the main line comes fitted with a pre-connector so that it can be connected easily to the water tap. If not, they are easy to install. Once the main line is laid out where you want it to go (usually between the rows of plants.) it is stacked down using U stakes. Then you use the piercing tool to pierce the main line at junctions where you want the emitter line to come off of the main line. Into the holes (piercings,) you snap the connectors. Next, cut the emitter lines to the designated lengths and connect one end to the connectors. An emitter is fitted into the other end and then you can use more U stakes to hold the emitter line in place.
Test the system by turning it on, and check for leaks. If you have leaks, repair them. There are many kits available that offer the benefit of having everything you need. One great thing about using garden watering systems is that they use less water because they water only around the plant, not the whole garden. Emitters come in various sizes and by that we mean that have a range of Gallons Per Hour. Most plant and gardens require a 1 GPH or less. Trees usually require a 4 GPH emitter and shrubs a 2-3 GPH emitter. Feel free to improvise your emitters. They need not be all the same rating.
In the meantime, enjoy your garden and the fruits of your labor! If you’re a homeowner with questions about garden watering systems, we’re here with answers.