6 Steps for replacing pipe thread irrigation fittings.
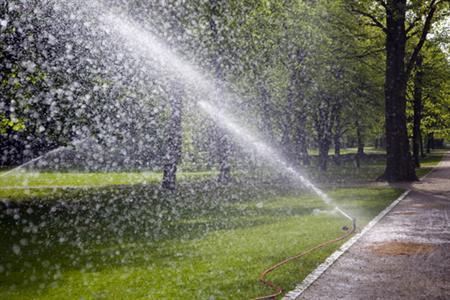
Home irrigation systems provide the water needed for your landscape to thrive. Advancements in design, as well as, products have made home irrigation maintenance and repair easy for do-it-yourself homeowners.
Replacing pipe thread irrigation fittings is a common repair for irrigation systems. Over time, leaks may develop, and the need for replacing fittings arises.
Here are six steps to replace irrigation fittings:
1. Dig out the area: Carefully remove the sod without damaging the root system and dig down to the piping.
2. Turn the water supply off.
3. Remove the fittings: Remove the fittings to be replaced.
4. Use Teflon tape: Threaded fittings have to be sealed to be sure the seal is watertight. Using Teflon tape, wrap the tape around the end three or four times.
5. Screw the pieces together: Screw the pieces together tightly and replace in the ground. Turn the water supply on to check for leaks.
6. Replace soil & sod: Replace the soil and re-lay the sod. Use a tamper to compact the soil and insure the root system has good contact with the soil
Visit the irrigation experts at W.P. Law, Inc. for quality irrigation systems and supplies.


