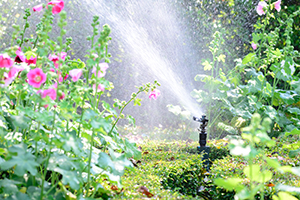
As spring approaches and people are starting up their sprinkler systems, one overlooked part of system maintenance is the proper positioning of sprinkler heads. Over the years as people top dress their lawns, sprinkler heads can become partially buried causing poor performance and wash-outs. An incorrectly positioned sprinkler head can affect water distribution and uniformity leading to dry spots and poor turf growth.
Below are the 4 steps you should follow when raising sprinkler heads to maximize the efficiency of your irrigation system
1. Begin by assessing how high you need to raise the sprinkler. With a hand shovel, dig around the sprinkler on all sides. The depth should be around 6-8 inches to give you some room to work. Carefully lift the grass around the sprinkler head and flip it upside down on the lawn. With a small trowel, remove the dirt from around the sprinkler head taking care not to hit the sprinkler line. Dig deep enough to unscrew the head.
2. Should you have a flexible riser (sometimes referred to as swing pipe) gently lift the sprinkler head with your hands until the top is level with the ground. If the riser is rigid, use a cut-off riser to adjust the height accordingly. Be careful when cutting the cut-off riser so that the end is smooth and it will connect perfectly with the sprinkler head
3. Screw the riser into the sprinkler head and then into the sprinkler line. Once it is tight, check to make sure that the head is vertical and rightfully placed.
4. Pack the removed dirt around the sprinkler head ensuring that it is high enough and almost level with the head. Reposition the grass around the sprinkler head.
Contact us for all of the parts you need to get your sprinkler system operating at optimum performance.


